Observation method
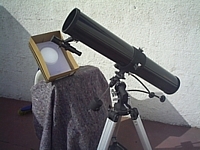
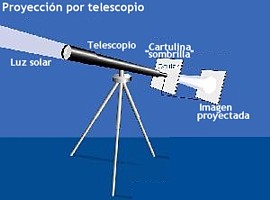
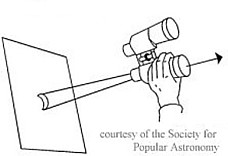
The method that will be explained here to observe the Sun is called projection, which basically consists of projecting the image of an eyepiece (telescope or binoculars) on a smooth, white surface, located so that the image hits the surface perpendicularly. For the purposes of this tutorial, white cardboard, about 20x30cm, to which a circle of 16cm diameter, using the compass. In addition, there must be a log to record the observations, which can be in a separate notebook or sheet, or use the same sheet where the Sun will be projected. The objective of this log is to record the changes that occur, if the amateur seeks make sustained monitoring of the Sun over time.
If this is the case, the log must contain the following data: 
-
Observer(s) (if observations are made together, or in turns)
-
Observation date
-
Time of observation, in UT *
-
Seeing **
-
Spot(s) observed (fictitious name(s))
-
Location of stain/s ***
-
Comments
* U.T.: Universal Time (Universal time); It is the same as GMT (Greenwich Mean Time), therefore to obtain the UT you only have to subtract the local time zone (e.g. for Chile the time zone is -3 in summer, therefore if locally it is 8:30 pm, in UT it's 5:30 pm).
** Seeing: It is an estimate of the quality of the sky at the time of observation, which for practical purposes can be totally qualitative, but following a guideline; from 1 to 5, in descending order the quality of the sky will be recorded (e.g. Seeing5= Completely clear sky; Seeing 3= Partly cloudy sky; Seeing 1= Totally cloudy sky, impossible to observe).
*** Location: If you want to make more precise monitoring, a graduated circle with latitudes and longitudes can be used, in order to locate the spots observed at certain coordinates and monitor their movement more precisely. You can download an example of a graduated circle at the end of this tutorial.
 |
 |

